My e-caller on the cheap.
Or, a work in progress!
By Bob Zettler
February 15, 2014
Just wanted to summarize my build
tonight and share with others.
I wanted to build an inexpensive, yet
functional and dependable e-caller to serve as a secondary system AND
a backup just in case...
Saw several others and copied some of
their design but added a few simple touches that I hope will serve me
this season. Right now it's almost complete, I just need to
weatherproof it and put a plate on the outside – I had one but it
was the wrong type.
I started with the AMP which I got on
sale at Amazon a few months back. I already had many of the basic
components: 12-volt batteries, nuts, washers, bolts, terminal
(electrical) connectors, and extra wire. I then needed something to
hold it all together, two PA Horns and speaker wire. I was lucky
that I saw a sale on speaker wire from Radio Shack a few months ago,
and I got 500' for around $20, but you can usually find 100' spools
for around $10 at Wal-Mart (on-line) and Amazon. Also, this past
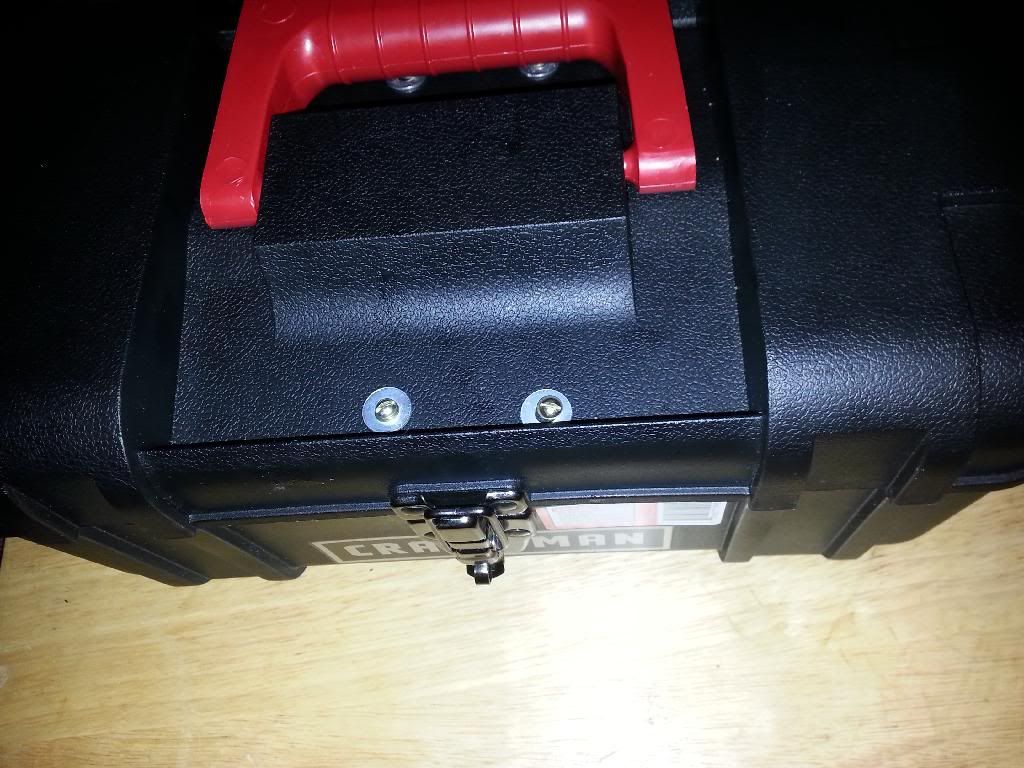
week Sears had a 12” plastic tool box on sale for $5 and they had
given me $8 is ShopYourWay Rewards points so I got it for free!
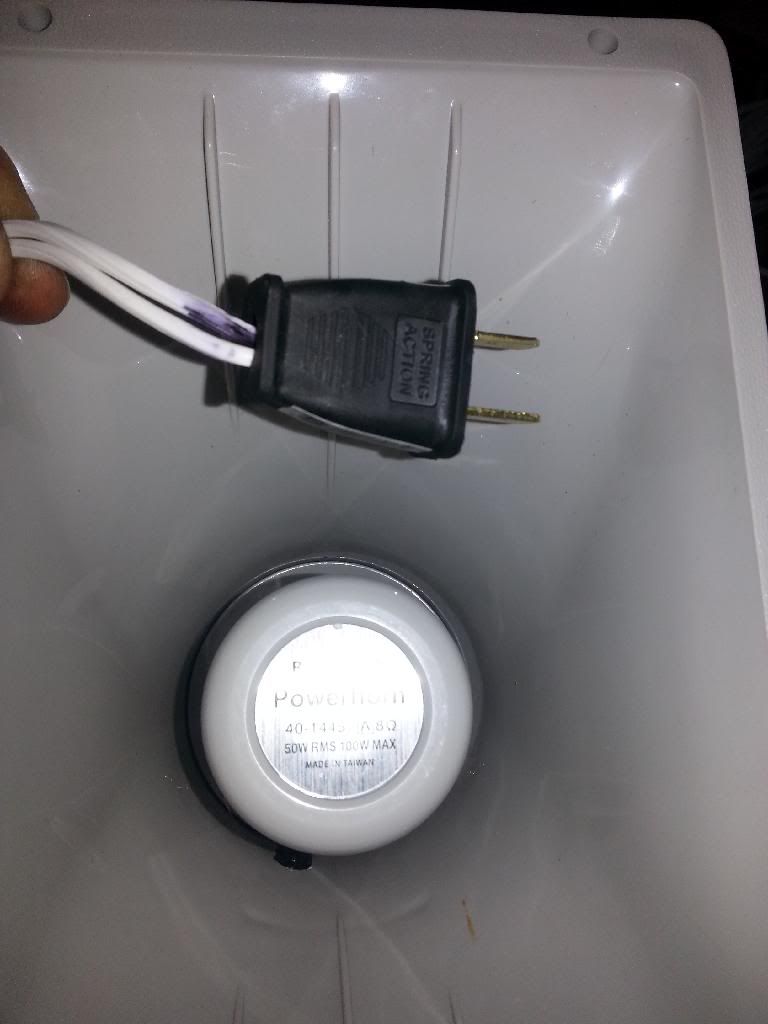
That left the PA Horns. I had a Pyle
65W left over from last year still in the box that I had bought
(again) from Amazon for around $17 but its now around $25 - if you
can find one. Right now and until I get another one, I got a
PowerHorn from Radio Shack (40-1445). It sells for $39.99 right now
in-store, they are out on-line, but there is another deal going on
right now. If you take in five electrical items (like video games,
old cell phones, or the like) and they will give you $5 each up to
$25 maximum credit so I got one of those for $15 plus tax on $40.
PARTS
AMAZON
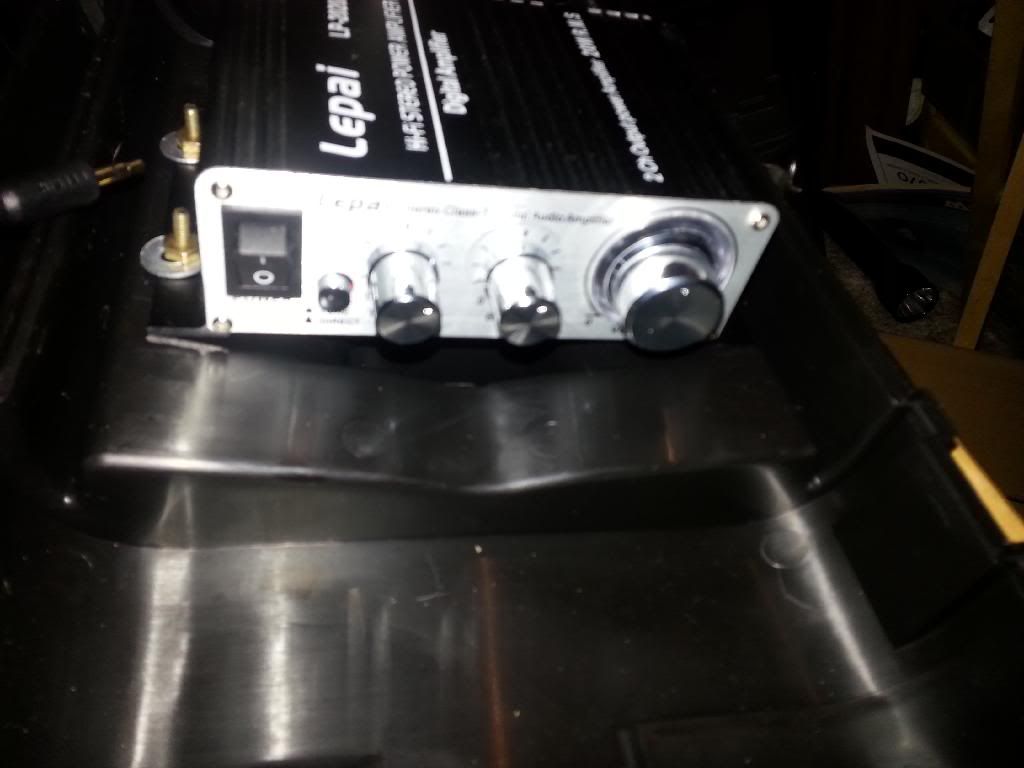
LP-2020A+ Lepai Tripath Class-T Hi-Fi
Audio Mini Amplifier with Power Supply - $18
Pyle PHSP4 6-Inch Indoor / Outdoor 50
Watts PA Horn Speaker - $15/each
Coleman 10-Inch Steel Tent Stakes (4
pack) - $4
Belkin Audio Y Cable Splitter 1-Mini
Plug, 2-RCA Plugs (6 feet - RCA to 3.5MM plug) - $5
12V 7.2Ah SLA Rechargeable Battery for
Security Systems/ Replaces Standard 7.0Ah - $18
SEARS
Craftsman 14” plastic toolbox ($10
but I got it free)
MENARDS
Common electrical outlet - $1.30
Common electrical outlet cover plate -
$1
Cord Wrap for Indoor/Outdoor Use 150'
16/3 Cord Capacity - $1
ASSORTED PARTS (on hand)
1/8” wide, 1” long bolts with
related nuts and washers
16-gauge speaker wire (previously
purchased 30' spools for CHEAP)
TOOLS NEEDED
screwdrivers
soldering gun/iron with electrical
solder and flux
Dremel tool with cutter blade
voltmeter
Magic Marker
electrical wire stripper/crimper
electrical tape
liquid electrical tape (optional)
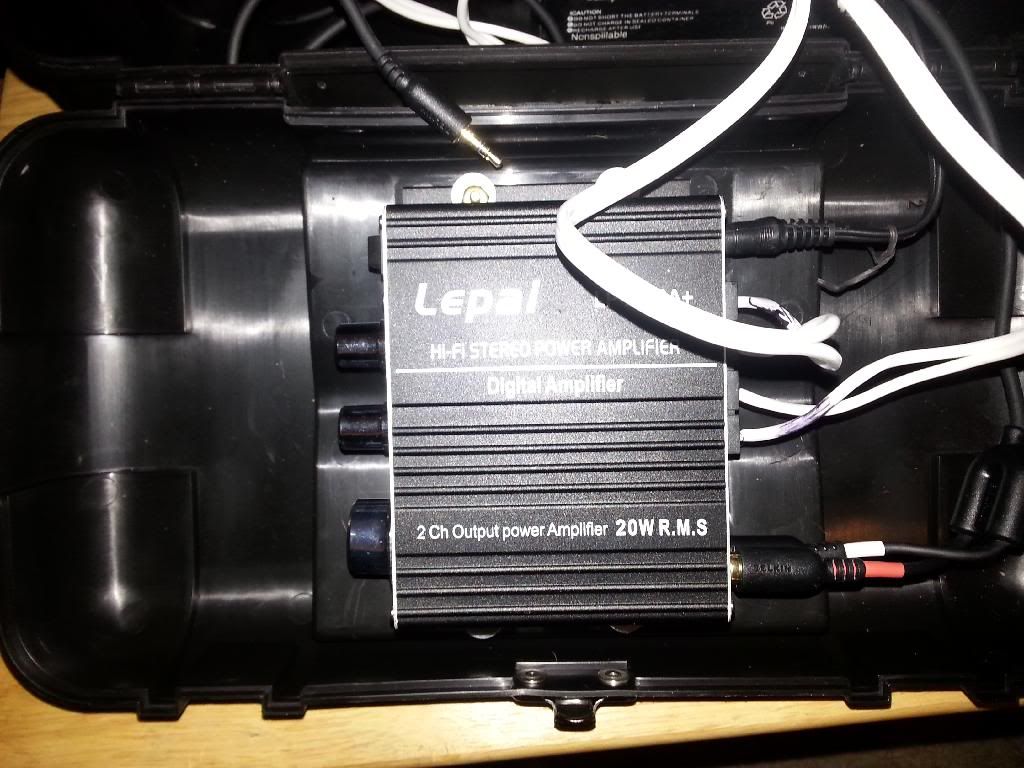
I started by figuring out where to
place the AMP on the inside of the tool box and decided on the
inside-center of the lid (I tossed the tray inside). Then I drilled
the four holes to hold it in place and used four bolts with large
washers (to add sturdiness) between the bolt head and the top of the
tool box and then a washer and a bolt on the bottom to hold the AMP
firmly against the top inside of the toolbox lid. I did this also
because it allowed plenty of room to place two 12-volt batteries
inside and for the cables and the rest.
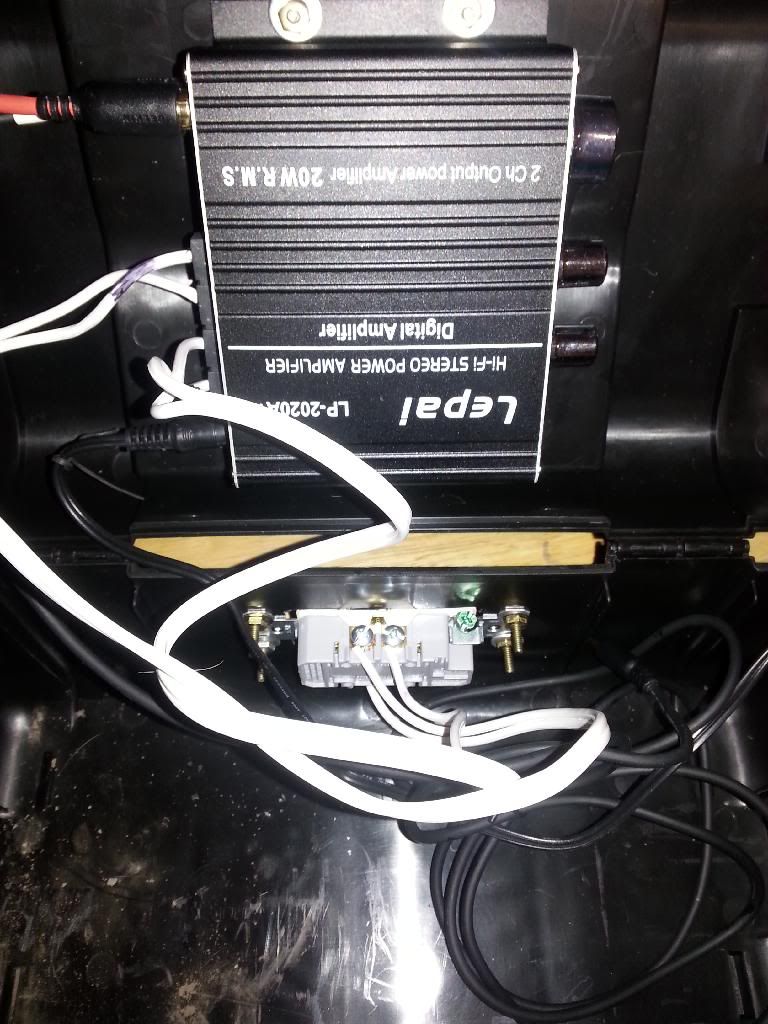
I decided to try out the simple
electrical outlets instead of speaker plugs and jacks. This saves
costs and it is simple to plug in the field. All outlets and plugs
have a large blade and a smaller blade so I was then careful to wire
everything the same way. Remember that it's red to red and black to
black, or it's positive to positive and negative to negative. THIS
CAN BE IMPORTANT to make sure you match everything to keep polarity
the same.
I did try everything out in advance
just to make sure I was on the right track.
Then I took the outlet and placed it
against the outside of the back wall of the toolbox and marked it
with a marker to then use my Dremel to cut out an opening. I cut
just enough for it to fit and then with it in place, I drilled the
four holes to bolt it in place. After using the four bolts and nuts,
with large washers on both ends to ensure sturdiness, I tried to
attach the cover plate only to discover I bought the wrong one. I
will put the right one on tomorrow. Then using some excess speaker
wire, about a foot long (two-pieces), I stripped the ends and
attached to the outlet (REMEMBER to ensure the same polarities),
tightening them as good as I could, and plugged the other ends into
their respective points on the AMP (REMEMBER to ensure same
polarities).
Then I wrapped the wire ends to the
speakers, making sure which was the positive and negative ends, and
soldered them to ensure strength. I coated these couplings with
liquid tape and then after it dried, wrapped them in real electrical
tape.
Then, I attached the other end of the
50' of wire to an electrical plug. This was probably the hardest
part trying to get the blades back into place but I persevered.
Again, I matched the plug blade ends to their respective (my choice)
wire ends. This is easy as the plugs AND outlets can only be plugged
together one way as one blade is wider that the other and the plug
has one opening larger than the other. Once completed you can wrap
the wire around the Cord Wrap, or, if you attach the stakes to the
speakers, I believe you can fashion a Cord Wrap there which would
make it easier to transport and wrap up!
This AMP uses a 12-volt electrical plug
in from a 110-volt outlet converter. I simply cut the cable (while
it was unplugged), then stripped the wire ends from the outlet end
where the I plugged the converter back in, and using the voltmeter I
was able to determine which was positive and negative. With the
other end, I stripped the cut end of the cable (making sure which was
positive and negative) using the electrical wire stripper/crimper and
crimped the ends to the terminal (electrical) connectors – one red
(positive) and one blue (negative) which connect to the 12-volt
battery. These are the same batteries you can buy at most any
battery store but I had two from a backup UPS and am using them to
save costs. Most any rechargeable batteries should work and if this
one proves to be an issue, I will try running two of them in parallel
to last longer and have enough juice to do so, or, will use an
ATV/motorcycle/marine/battery.
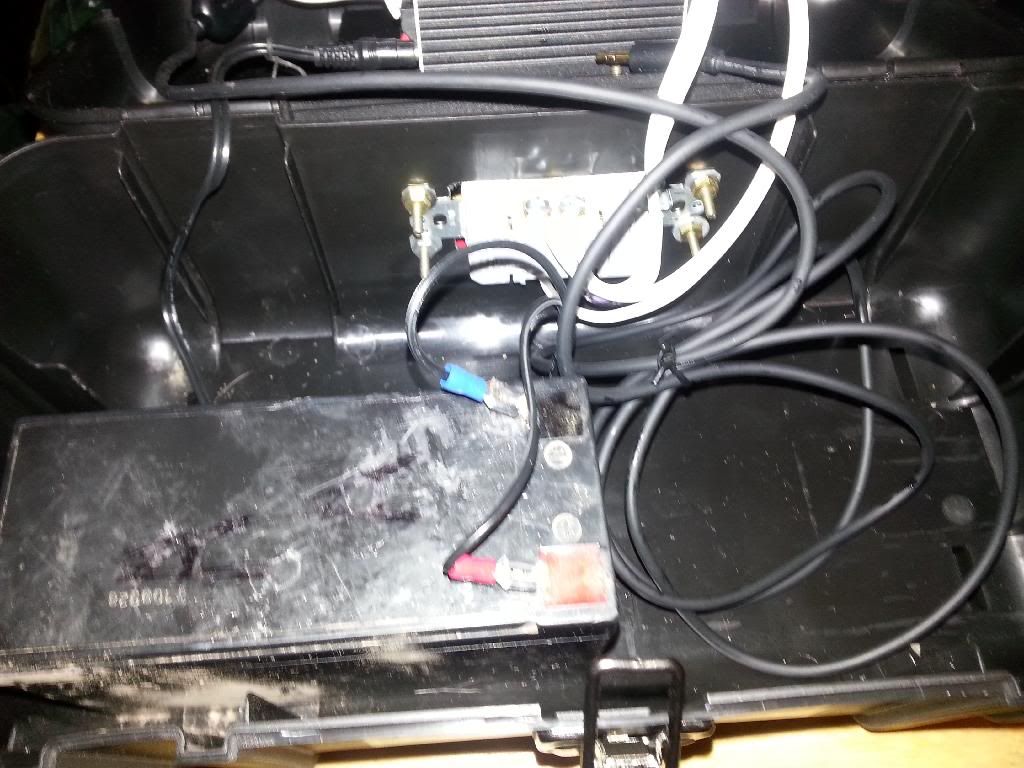
That leaves me with figuring out how to
hold the battery in place. For the time being, I am whooped tonight,
I will just wedge in some Styrofoam to keep the batteries from
sliding! I am also going to waterproof/resistant the box at the
outlet, and where I placed the AMP, with silicone. No, it wont
guarantee it but it should hinder any moisture from seeping in!
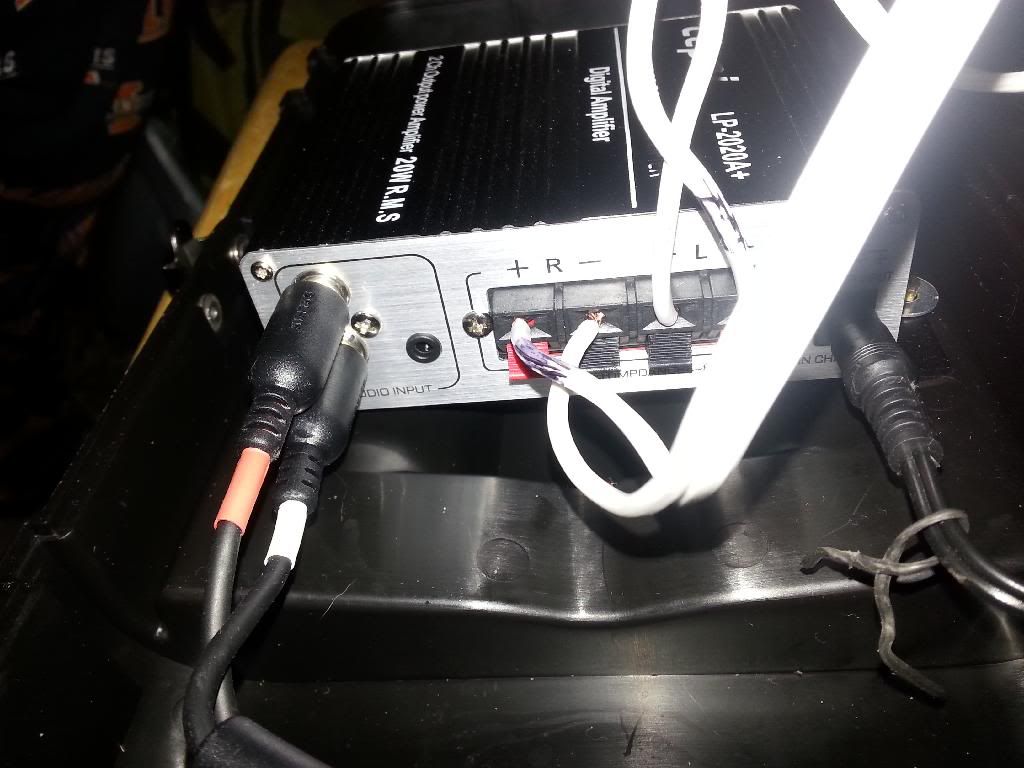
The last piece just plugs into the AMP.
The RCA plugs go in here and the other end, a 3.5MM jack, can be
plugged into a Cell phone, MP3 player or the like. Attached the
wires to the battery, plug the speakers into the outlet, and start
the music....I mean Snow goose sounds and adjust the volume, Bass and
Treble to the birds liking!
No comments:
Post a Comment